


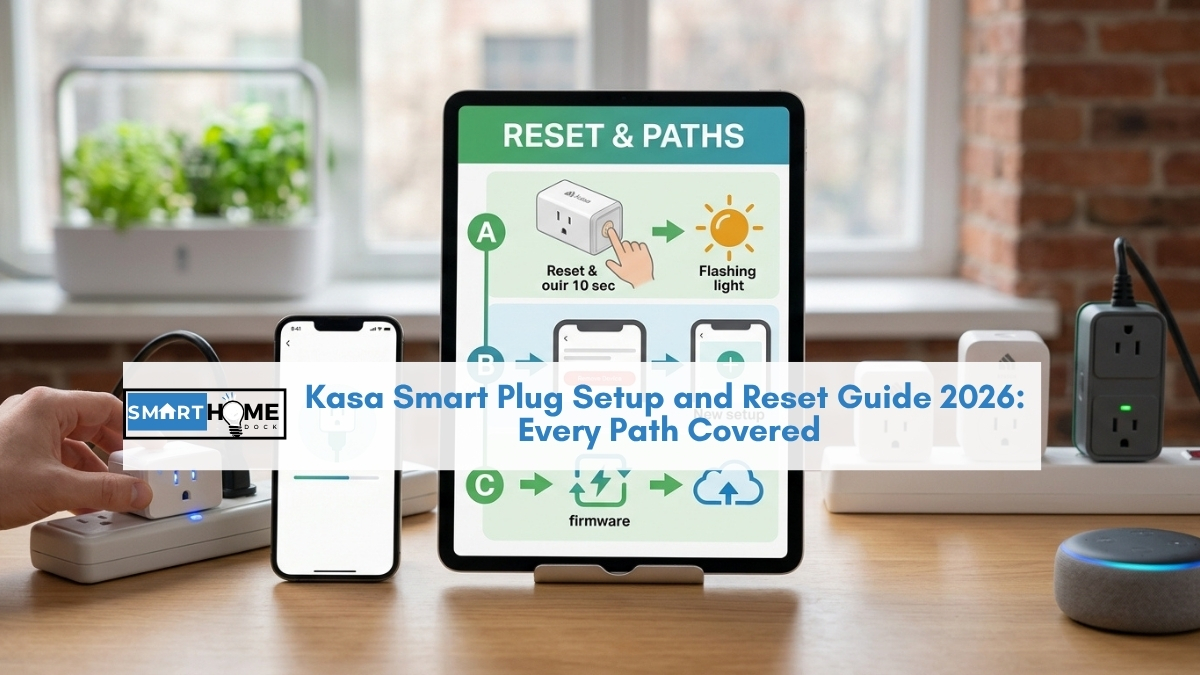
New Kasa plug in hand, app downloaded, and the Kasa smart plug setup is not completing. Or the plug worked fine for months, and now it won’t respond.
Or you’re moving house and need to reset the plug before giving it away.
Whatever brought you here, this guide covers every Kasa smart plug setup and reset path in one place, with the current 2026 model differences called out where they change the steps.
One important thing to check before starting: whether your Kasa plug supports Matter.
The KP125M, EP40M, and EP10 are Matter-certified, which means they can be set up directly through Apple Home, Google Home, or Alexa without the Kasa app or a brand account.
Every other current Kasa plug requires the Kasa app for initial setup. Jump to the section that matches your plug.
Quick Answer: Kasa Smart Plug Setup
Standard Wi-Fi plugs (KP125, KP115, EP25, HS103): plug in, open the Kasa app, tap + and Add Device, follow the in-app steps to connect to your 2.4GHz Wi-Fi network. Takes about two minutes. Then link to Alexa or Google Home from within those apps.
Matter plugs (KP125M, EP40M, EP10): plug in, then either follow the same Kasa app path above, OR open Apple Home, Google Home, or the Alexa app directly, tap Add Device, and scan the QR code on the plug. No Kasa account needed for the Matter path.
Reset: hold the button for 5 seconds (soft reset, clears Wi-Fi only) or 10 seconds (factory reset, wipes everything). LED blinks amber and green for soft reset; blinks amber rapidly for factory reset.
Before You Start: The One Check That Prevents Most Setup Failures
Every standard Kasa smart plug connects to 2.4GHz Wi-Fi only. Not 5GHz. If your phone is connected to your router’s 5GHz band when you start setup, the plug cannot find your network and the setup fails with a generic connection error.
Before opening the Kasa app, go to your phone’s Wi-Fi settings and confirm you are connected to your router’s 2.4GHz network.
Most modern routers broadcast two networks with names like “HomeNetwork” and “HomeNetwork_5G,” or both bands may share one name.
If they share a name, your phone typically connects to 5GHz automatically. Switch to the 2.4GHz network before starting setup and stay on it until the plug is fully configured.
Specifically, this applies to all standard Kasa Wi-Fi plugs. Matter-compatible Kasa plugs (KP125M, EP40M, EP10) use Bluetooth for initial pairing and are not affected by the 2.4GHz vs 5GHz issue.
⚠️ Also check: the Kasa plug needs to be within reasonable range of your router during setup. If your router is two floors away, bring the plug closer for initial pairing, then move it to its permanent location after setup completes.
How to Set Up a Kasa Smart Plug Using the Kasa App (All Models)
This path works for every current Kasa plug. Matter plugs can also use this path if you prefer using the Kasa app for management.
What you need
- The Kasa Smart app (free, iOS App Store or Google Play)
- A TP-Link Kasa account (create one free in the app)
- Your phone connected to your 2.4GHz Wi-Fi network
- The Kasa plug plugged into an outlet and powered on
Steps
- Open the Kasa app and sign in. If you do not have an account, tap “Sign Up” and create one with your email address. A Kasa account is required for remote access and scheduling, but setup itself only takes a moment to create.
- Tap the + icon in the top right corner of the home screen.
- Select “Add Device,” then tap “Smart Plug” from the category list.
- Select your plug model from the list. If you’re unsure of the model number, check the label on the side or bottom of the plug body.
- Follow the in-app pairing instructions. The app will ask you to confirm the plug is plugged in and the LED is blinking. On most current models, the LED blinks orange and green when ready to pair.
- Enter your Wi-Fi password when prompted. Confirm you are entering the password for your 2.4GHz network, not a 5GHz network.
- Wait for the plug to connect. The LED turns solid green when the connection is successful. The app confirms the device is online.
- Name your plug. Choose a name that matches where it’s located or what it controls. “Living Room Lamp” works better than “Smart Plug 1” for voice commands later. The name you set here becomes the Alexa and Google Home device name.
Setup typically takes under two minutes on a reliable 2.4GHz connection. If the plug fails to connect, see the troubleshooting section below before trying again.
How to Set Up a Kasa Matter Plug (KP125M, EP40M, EP10) via Apple Home, Alexa, or Google
Matter-compatible Kasa plugs support a second setup path: pairing directly into Apple Home, Google Home, or the Alexa app without downloading the Kasa app or creating a Kasa account.
This path uses Bluetooth for initial pairing rather than Wi-Fi, which means the 2.4GHz Wi-Fi restriction does not apply.
To identify a Matter plug: look for the Matter logo on the packaging or the plug body. Current Matter Kasa models include the KP125M, EP40M, and EP10. The QR code on the plug label is the Matter pairing code.
Set up via Apple Home (HomeKit)
- Plug in the Kasa plug. The LED blinks to indicate it is ready to pair.
- Open the Apple Home app and tap the + icon.
- Select “Add Accessory.”
- Point your iPhone camera at the QR code on the plug body or its label. Apple Home reads the Matter pairing code automatically.
- Follow the on-screen prompts to assign the plug to a room and confirm the connection.
- The plug appears in Apple Home and responds to Siri commands immediately.
Set up via Alexa (Matter)
- Plug in the Kasa plug.
- Open the Alexa app, tap Devices, then the + icon, then “Add Device.”
- Select “Matter” from the device category list.
- Tap “Scan QR Code” and point your camera at the QR code on the plug.
- Follow the prompts. Alexa assigns the plug to a group and it is immediately controllable by voice.
Set up via Google Home (Google Seamless Setup or Matter)
- Plug in the Kasa plug.
- Open the Google Home app and tap the + icon at the top left.
- Select “Set up device,” then “New device.”
- Follow the on-screen instructions. Google Home scans for nearby devices ready for setup and detects the Kasa plug.
- Scan the QR code on the plug when prompted, or enter the 8-digit code on the label near the QR code.
- Assign the plug to a home and room. It is immediately available for voice commands via Google Assistant.
Matter means no separate brand account
When you set up a Matter Kasa plug via Apple Home, Google Home, or Alexa, you do not need a TP-Link Kasa account.
The plug lives entirely within your chosen ecosystem. The trade-off: you lose access to energy monitoring and Kasa-specific scheduling features in the Kasa app.
Those features are only available if you also add the plug to the Kasa app alongside your chosen ecosystem.
How to Connect a Kasa Smart Plug to Alexa
If you have already set up your plug in the Kasa app, connecting to Alexa involves enabling the Kasa skill and discovering devices. If you have a Matter plug, the direct Matter path above is simpler.
Steps (Kasa app path)
- Confirm your plug is set up and online in the Kasa app. The LED should be solid green.
- Open the Alexa app on your phone.
- Enable the Kasa skill: tap the menu icon (three lines), select “Skills & Games,” search for “Kasa Smart,” and tap “Enable to Use.” Sign in with your Kasa account credentials when prompted.
- Discover devices: after enabling the skill, tap Devices in the Alexa app, then the + icon, then “Add Device.” Alternatively, say “Alexa, discover devices” and wait 20 to 30 seconds.
- Your Kasa plug appears in the Alexa device list under its Kasa app name. Test with “Alexa, turn on [plug name].”
Notably, the plug name in Alexa matches what you set in the Kasa app. If voice commands are not working, confirm the Alexa device name and the name you are saying match exactly. “Living Room Lamp” and “Lamp” are different device names to Alexa.
How to Connect a Kasa Smart Plug to Google Home
Steps (Kasa app path)
- Confirm your plug is set up and online in the Kasa app.
- Open the Google Home app.
- Tap the + icon at the top left, then “Set up device.”
- Select “Works with Google.”
- Search for “TP-Link Kasa” and tap it.
- Sign in with your Kasa account and tap Authorize to grant Google Home access to your Kasa devices.
- All your Kasa devices appear. Hold and press the plug icon to assign it to a home and room.
- Test with “Hey Google, turn on [plug name].”
Furthermore, Google Home Seamless Setup is available for select Kasa plugs.
If you see a prompt to set up a new device automatically when you open the Google Home app near a new plug, this is Seamless Setup working.
Follow the on-screen steps rather than the manual “Works with Google” path above for a faster experience.
How to Reset a Kasa Smart Plug: Soft Reset vs Factory Reset Explained
There are two reset types and they do different things. Using the wrong one is a common mistake.
| Reset type | Hold time | LED signal | What it clears | Use when |
|---|---|---|---|---|
| Soft reset | 5 seconds | Blinks amber and green alternately | Wi-Fi credentials only. Keeps schedules, timers, device name. | Changing Wi-Fi network or router. Plug appears in app but won’t connect. |
| Factory reset | 10 seconds | Blinks amber rapidly | Everything. Wi-Fi, schedules, name, account association. | Giving the plug away. Starting setup from scratch. Plug completely unresponsive. |
How to perform a soft reset
- Confirm the plug is powered on and plugged into an outlet.
- Locate the control or reset button on the plug body (usually on top or on the side).
- Hold the button for 5 seconds.
- Release when the LED begins alternating amber and green. This indicates the plug has cleared its Wi-Fi credentials and is ready to reconnect.
- Return to the Kasa app, open the plug’s settings, and tap “Change Wi-Fi” to reconnect to your network.
How to perform a factory reset
- Confirm the plug is powered on and plugged in.
- Hold the control button for 10 seconds.
- Release when the LED begins blinking amber rapidly. This indicates factory reset is complete.
- The plug is now reset to out-of-box state. Set it up again from the beginning using the Kasa app setup steps above.
⚠️ After a factory reset: the plug also disappears from your Kasa app account and from Alexa or Google Home. You need to remove it from those apps manually before re-adding it, otherwise duplicate ghost devices appear in your device list.
Kasa Smart Plug Not Connecting or Won’t Connect: Every Fix
Plug won’t connect during setup (spins but fails)
This is almost always the 2.4GHz vs 5GHz problem. Go to your phone’s Wi-Fi settings and manually connect to your router’s 2.4GHz network.
The network is usually identifiable by a “2.4G” suffix in the name, or by having slightly lower signal strength than the 5GHz network.
After switching, restart the Kasa app setup flow from the beginning. Specifically, do not try to resume from where it failed. Close the app fully and reopen it before retrying.
Plug connects but disappears from the app
The plug may have connected to a different network than your phone is now on. Check the Kasa app home screen.
If the plug shows “Offline,” open its settings and tap “Change Wi-Fi” to reconnect it to your current network. If the plug is not visible in the app at all, do a soft reset and run setup again.
Kasa plug Alexa not working after setup
Three causes account for most Alexa failures. First, the Kasa skill may not be enabled: open the Alexa app, go to Skills and Games, search for Kasa Smart, and confirm it shows “Enabled.”
Second, Alexa may not have discovered the device after the skill was enabled. Say “Alexa, discover devices” and wait 30 seconds.
Third, the device name in Alexa and the name you are saying may not match exactly. Open the Alexa app, find the device, and check its exact name. Edit it if needed.
Google Home says “Couldn’t connect” or device not found
Confirm the plug is online in the Kasa app first. If it shows offline in Kasa, Google Home cannot see it.
After confirming it is online, go to Google Home, tap the plug, tap Settings, then “Unlink” and re-link the TP-Link Kasa service.
Additionally, confirm the Google Home app is fully up to date, as older versions have compatibility issues with newer Kasa firmware.
LED is blinking but setup won’t complete
A blinking amber and green LED means the plug is in pairing mode and waiting for a Wi-Fi connection.
If setup keeps failing at this stage, the plug is receiving the setup signal from your phone but cannot connect to your router.
Confirm your Wi-Fi password is correct (passwords are case-sensitive), move the plug closer to the router, and try again.
If the same failure happens three times, perform a factory reset and restart setup completely.
Plug was working, now shows offline
Unplug the Kasa plug from the outlet, wait 10 seconds, and plug it back in. This clears most temporary offline states.
If it returns online, the issue was a temporary firmware hiccup or brief router disconnection.
If it remains offline, check whether your router’s 2.4GHz band is functioning by connecting another device to it.
If the band is fine but the plug remains offline, perform a soft reset and reconnect it to your Wi-Fi network via the Kasa app.
Frequently Asked Questions: Kasa Smart Plug Setup and Reset
Why won’t my Kasa smart plug connect to Wi-Fi?
The most common reason is that your phone is connected to a 5GHz Wi-Fi network during setup.
Kasa smart plug setup requires a 2.4GHz Wi-Fi connection. Go to your phone’s Wi-Fi settings, find your router’s 2.4GHz network (usually labelled with “2.4G” or a separate network name), and switch to it before restarting the setup process.
The second most common cause is an incorrect Wi-Fi password entered during setup.
Passwords are case-sensitive. Perform a soft reset and try again with the correct password.
How to Reset a Kasa Smart Plug: Soft and Factory Reset
Hold the control button on the plug for 5 seconds for a soft reset (clears Wi-Fi credentials, keeps schedules and name).
Hold it for 10 seconds for a factory reset (wipes everything, returns plug to out-of-box state).
The LED blinks amber and green for a soft reset and blinks amber rapidly for a factory reset.
Use a soft reset when changing Wi-Fi networks. Use a factory reset when giving the plug away, when setup is completely broken, or when the plug is unresponsive to all other fixes.
After a factory reset, remove the plug from your Kasa app, Alexa, and Google Home before adding it again.
How to Set Up a Kasa Smart Plug Without the App
For standard Kasa Wi-Fi plugs (KP125, KP115, EP25, HS103), yes: the Kasa app is required for initial setup.
For Matter-compatible models (KP125M, EP40M, EP10), no. Matter plugs can be set up directly in Apple Home, Google Home, or the Alexa app by scanning the QR code on the plug.
No Kasa account is needed for the Matter setup path. The trade-off is that energy monitoring and Kasa-specific scheduling features are only available through the Kasa app.
How do I connect a Kasa smart plug to Alexa without the Kasa app?
Only Matter-compatible Kasa plugs (KP125M, EP40M, EP10) support direct Alexa setup without the Kasa app.
Open the Alexa app, tap Devices, tap the + icon, select Add Device, then select Matter. Scan the QR code on the plug.
For standard Kasa Wi-Fi plugs, the Kasa app is required first, followed by enabling the Kasa skill in Alexa and running device discovery.
What does the Kasa smart plug LED light mean?
The LED status on a Kasa smart plug indicates the current state: solid green means the plug is online and connected to Wi-Fi; blinking amber and green means the plug is in pairing mode and waiting for Wi-Fi setup to complete; blinking amber rapidly means a factory reset is in progress; no light or solid amber means the plug is offline or has lost its Wi-Fi connection.
During normal operation, the LED stays solid green. If it is blinking unexpectedly, the plug has lost its connection and needs to be reconnected through the Kasa app.
