
Google Nest thermostat battery replacement is something you might be wondering about as you have
added it to your smart home.
It is very comparable with other Google products, and you can control it via your mobile device.
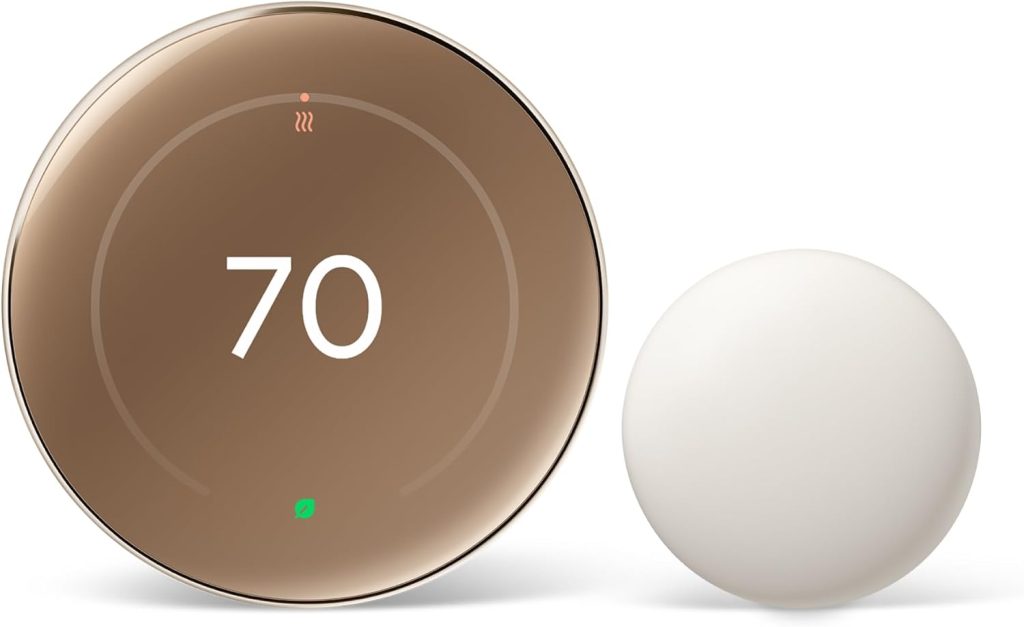
The only issue is that it needs batteries to work. The Nest Learning thermostats are powered by built-in lithium-ion batteries. Lithium or rechargeable batteries are best for your device.
Once charged, you can use it for several months, saving money in the long run. It is also rarely replaceable.
The Standard model is, however, powered via the HVAC wiring. It also comes with a backup power source in the form of two AAA alkaline batteries.
But as you know, battery degradation is sometimes an unavoidable part of your thermostat’s lifespan.
So, if you are using the Standard Google Nest Thermostat, you will most likely need to change batteries at regular intervals. This is somehow straightforward.
But even for rechargeable batteries, the process is usually not very technical but requires some work. Interestingly, for some people, Nest thermostat battery replacement is easier than ever.
In most cases, all you need to do is remove the four screws, which will enable you to access Nest’s display, and from there the battery comes out automatically.
So, if your Nest thermostat won’t turn on, is experiencing poor battery life, or simply won’t hold a charge, then you need to replace the battery.
Usually, the battery replacement indicator will keep flashing to alert you that it is time for Nest thermostat battery replacement.
If what you need is to bring your dead Nest thermostat back to life, then we are here to help you.
In this guide, we will go through the steps that you need to follow when replacing your Nest thermostat batteries. So, let’s get started.
Tools and Requirements
Nest thermostat battery replacement won’t be straightforward and usually won’t require sophisticated tools.
If you have these minimum tools and requirements, you are good to go:
- Tweezers
- Screw driver. Possibly Philips #0 or #2 screwdrivers
- Flat-head screwdriver
- Opening tool
- If need be, you may refer to an instructor manual.
- New pairs of batteries. In this case, you need to buy a new lithium-ion battery or triple-A batteries, depending on your thermostat model.
- Google Nest App to help you check the power score on your thermostat.
Step-by-step Guide for Replacing Batteries for a Standard Nest Thermostat
Nest Smart Thermostat is still one of the most popular thermostats on the market. They run on alkaline batteries.
So, we will focus on how to replace these batteries once they fall flat.
As you will notice, replacing batteries for this thermostat model is much simpler than for the Nest Learning thermostats.
The process goes like this:
Step 1: Disconnect the Thermostat from the Wall
Since your smart thermostat is most likely wall-mounted, you need to remove it from the base.
You will do so by pulling the thermostat away from the display or just sliding it upwards and then pulling it away from the mount.
Step 2: Remove the Batteries
Once you have removed the thermostat display from the base, you should be able to see the alkaline batteries.
Your job here is to remove the two AAA batteries and throw them away to make room for the new set.
So, check on the backside of the housing and then use the flat-head screwdriver or similar tool to pry the batteries out gently.
Step 3: Insert New AAA Batteries
Insert your new AAA alkaline batteries into the right place.
You should check the connection notations to ensure that positive and negative terminals align correctly.
Step 4: Push Back the Display Into the Wall-Mounted Base
To ensure that Nest thermostat battery replacement is successful, always put the thermostat housing into place.
In this case, you need to align the wall plate pins with the terminal block and slide the housing into place.
In other words, it should look the same as you found it before the disconnections.
Step By Step Guide for Replacing Batteries for Nest Learning Thermostat 2nd and 3rd Generation
In this section, we will walk you through step-by-step instructions on Nest thermostat battery replacement for the Nest Learning 2nd and 3rd generation thermostats.
We will cover Nest Thermostat E later.
Step 1: Remove from the Wall
For you to perform a Nest thermostat battery replacement, you first need to remove the base plate from the wall.
All you need to do is grab the display’s outer ring with your hand and pull it back while rotating in the clockwise direction.
After that, you can then go to the electric panel and switch off the circuit to make sure no power is getting to the thermostat.
Once you have disconnected the power, you also need to disconnect Y1, R, G, C, W1, and OB wires from your system.
Remember the placements for all these wires because you will need them while assembling the device.
Step 2: Open Display
After removing your thermostat from the wall, turn off the display cover.
Thai will enable you to remove the four 6mm screws from the back of the display.
For this job, you will use a Philips #0 screwdriver.
For some cases, you will need a Philips #2 screwdriver.
Also, remember to keep the screws in a safe area, as you will need them when reassembling the thermostat.
Step 3: Remove the Back of the Display
Removing the screws on the backside will enable you to access the key component of your Nest thermostat.
But your focus here is to remove the back of the display first. So, you need to pinch the gray 20-pin connector.
You will do so with your two fingers and pull it directly away from the display. However, you should be careful when pulling it away.
Don’t pull too far. The reason is there is a ribbon on the back panel that connects the 20-inch connector to the display.
Step 4: Disconnect the Base Connection Ribbon Cable
Another important step when undertaking Nest thermostat battery replacement is to carefully disconnect the ribbon cable from the thermostat.
So, you will locate the blue tab at the terminal end of the ribbon. This pull tab usually says, ‘1. Pull’.
If you have successfully located the blue pull tab, grasp it with your fingers and try pulling it away from the motherboard.
Doing this will disconnect it from the base, allowing you to access the battery.
Step 5: Lift Battery from the Base
Before you can lift the battery from the base, you first need to identify another blue pull tab.
This time look for the one that says, ‘2. Pull’. After locating it, use tweezers to lift up the batter away from the display.
Just remember not to pull it a bit too far because the battery is still connected to the motherboard, meaning that you must unplug it.
Step 6: Disconnect the Battery from the Motherboard
As noted above, you need to remove the battery from the motherboard as carefully as you can. To do so, you need to find the blue tab that says, ‘3 unplug’.
This will guide you in how you will disconnect the battery from the motherboard.
So, grab the battery with your fingers and then pull it gently away from the display.
Doing this will unplug the battery from the motherboard.
Step 7: Remove Battery from the Display
Finally, you have arrived at the step where you completely remove the battery from your thermostat.
This process of Nest thermostat battery replacement involves grasping the battery with your fingers and pulling in such a way that you move it away from the motherboard.
Actually, all you need to do is separate the battery from the display and place it aside.
Step 8: Replace the Battery and Close the Unit
Once you have gotten rid of the problematic battery, you should replace it with a new lithium-ion battery.
In this case, you will fix it as you found the other one.
The easiest way to go about it is to follow these steps in reverse order until you reach the point of remounting your Nest thermostat into the wall.
Final Thoughts
While thermostats can last for decades, they consume more energy, meaning that they need battery replacement along the way.
So, you should not wait until the battery is completely out so as to learn how to replace it.
And if the batteries are already off, use this guide on Nest thermostat battery replacement to make the process as smooth as possible.
Just be sure to pay attention to every step to avoid repeating and confusion when reassembling your thermostat.
After replacing the battery, take note of the above steps and follow them in reverse order in order to reassemble your thermostat.
Also, for optimal performance, remember to calibrate your newly installed Nest thermostat battery.
What you need to do is charge your new battery to 100% and leave it to charge for at least two hours more.
After that, you can use your thermostat until it shuts off because of the low battery. Then charge the device uninterrupted up to 100%.
Also Read:
- Ecobee Smart Thermostat Premium & Enhanced Review
- 7 Reasons Why Honeywell Thermostat Cool On Flashing (Solved!!!)
- Ecobee vs Nest: The Battle of the Smart Thermostats in 2024
- Thermostat C-Wire: How It Works on Your Thermostat
- Unlocking the Secrets of Smart Thermostats: 5 Things to Know Before You Buy